
Un-Decorate Christmas Like a Pro
This has been a great year for decluttering and putting our homes in order, hasn’t it? Or maybe organizing was a great thought, but you never got around to it. There’s still time to feel like you’ve accomplished something of real value in this stay-at-home-as-much-as-possible year by organizing your Christmas decorations! You have to take them down at some point, right? You did put them up, didn’t you?!
Get out the camera
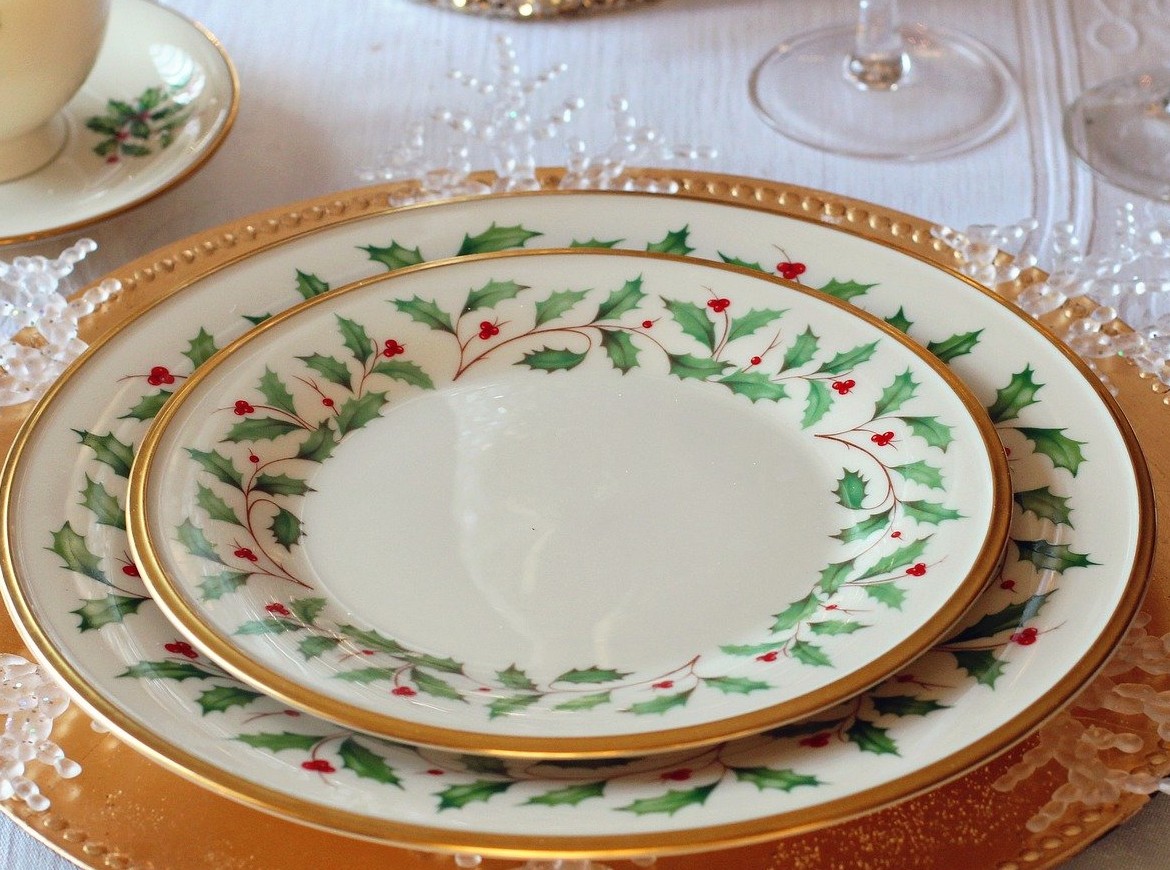
Wait! Before you do anything, take pictures of all those cool, new holiday vignettes you created. You know, that charming tablescape or the hot chocolate bar you set up after reading my October newsletter. Maybe you really like the way you arranged the nativity scene this year. You don’t want to forget any of those special touches. Being in a new home this year, I definitely need to do this to remember what I did.
Decide on a strategy
Do you like to decorate with the same items in the same rooms each year? Then you should label your storage bins, bags, and boxes by room. If you like more variety and move your decorations around, it’s more efficient to group like items together, such as ornaments, garland, ribbons, lights, etc. At the very least, I suggest marking your inside and outside boxes.
Storage containers
When purchasing new storage bins, think about getting red or green bins, or clear bins with red or green lids, so it’s easy to tell it’s your Christmas decor. Consider where you’re going to keep the bins too. If you have to lug them from the attic or basement, you might want to purchase more small bins, rather than just a few ginormous ones that will be hard to store and heavy.
Protect the breakables
Nothing is more frustrating than finding your favorite ornament broken at the bottom of the box. There are so many storage boxes with dividers for ornaments on the market, and they’re not expensive. If you already have a bin, it’s easy enough to make the dividers by gluing large plastic cups to a piece of cardboard that will fit inside your bin. Put another piece of cardboard on top. Egg cartons work great for smaller breakables and bulbs. Don’t forget to wrap tissue paper or bubble wrap around those fragile items. Coffee filters will get the job done too. Don’t throw out all of that tissue paper – that comes in handy for breakables too.
Keep lights untangled
I take it back, tangled lights are worse than broken bulbs. But, it’s an easy to keep that from happening with just a little planning. Wrap your Christmas lights around a notched piece of cardboard, an empty wrapping paper tube, a hangar or even the box your Christmas lights came in. If you have a really long strand, you can roll them up on a cord reel, like an extension cord.
Storing wrapping paper
Those long tubes of wrapping paper really need to be harnessed or they can get in the way, and the paper frays and tears so easily. A laundry hamper or a waste paper basket will give you plenty of room for all your wrapping paper, not just for the Christmas selection. A flat, rectangular plastic storage box that fits under the bed is a great option if you don’t have much room. Or store them in a garment bag and hang them up. Of course, if you want to go really big, you can create a special wrapping station by putting up tension rods and sliding your rolls of paper right onto the rods. Don’t forget to organize your ribbons, scissors, tape and labels nearby in an office supply organizer or even a shower caddy.
I hope some of these ideas have inspired you to tackle the least fun part of Christmas in a more orderly fashion. You’ll probably thank yourself next year when it’s time to pull it all out and start decking the halls again.
